Welcome to the world of lash! Here is the beginner's guide to falsies - lash glue version.
This is the alma mater of fixing falsies - Gluing. Do it proper with our Nude series, you may not even need an eyeliner for concealment. Thus achieving a truly weatherproof, smudge-proof makeup. Nude series lashes has thin transparent stalk. Each lash is meticulously joined to the stalk which is invisible when worn. Hence its name.
Before we start, let us go through some areas where beginners may have questions on:
Practice lashes
Practice makes perfect. If you are still trying out, you may want to try this on inexpensive lashes (because you are going to trim them!). I got them from neighbourhood shops like Ta Zhiang. If you prefer, Daiso also carry affordable lashes. The lashes looked like strips of plastic so they can be hard and unnatural. Some might shed half of its lashes after one use. However, cheap as they are, you can do whatever you like and not feel the pinch.

Trimming
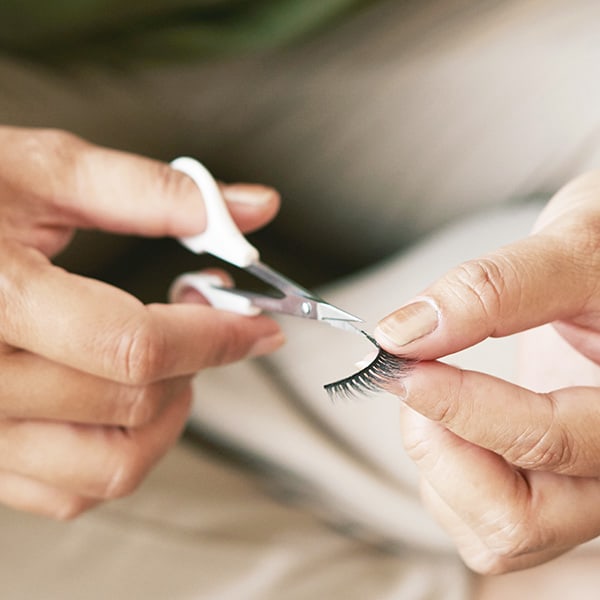
Ideally, the falsie should start where your real eyelash start and ends on the outer corner of your eye. So hold them above your eye with a tweezers and gauge. Remember, trim conservatively! It is not unusual for both eyes to have different widths, do gauge and trim separately.
Which end should I trim? Do trim both lashes from the same end! It does depend on the lash style. I would usually trim from the inner end (closest to your nose) as the lashes there are shorter and un-styled. Some lashes have lengthy, shaggy ends that will look unsymmetrical if you trim the outer ends differently.
Trim more if the stalk is poking your inner side of the eye.

Sticky situations
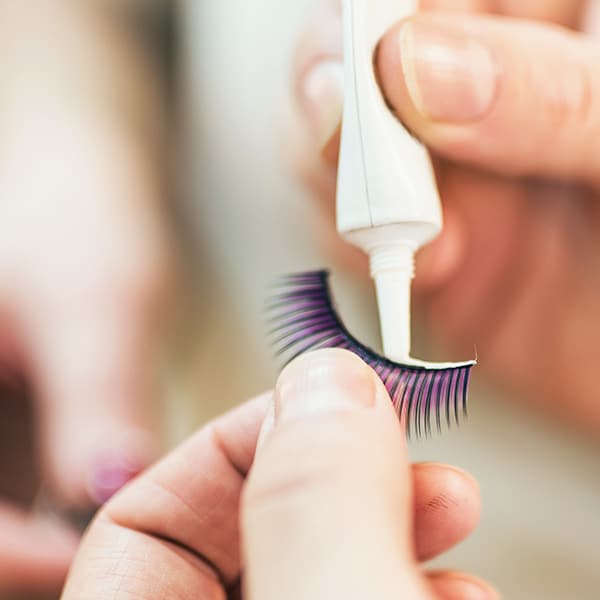
Glue application can be really tricky. Too little, it comes off by lunch time. Too much, your eyelids get stuck. Fellow lash friends recommend lash glues that comes with brush applicator. They are way easier than squeezing out from a tube. Thick layers of glue will take a few minutes to turn tacky. So try a thin line first and work up from there!
There are advantages for waiting till the glue turns tacky. One, it will reduce smudging on your fingers, eye makeup and lashes. Even if they dry transparent, they can form messy bits on your lash. Two, it will hold better as soon as you got them in position. Think getting it perfectly on your eye, then have it all fall off in a blink of an eye. Literally. Tacky glue is worth the wait.

Positioning lashes
Many beginners has issue placing the lash close to your real lash. Again, practicing helps. You can also draw a thicker line with your eyeliner to conceal that nefarious gap, or try half lashes (for some, shorter = easier).
In terms of procedure, one can try getting the lash to sit correctly on the outside end first. then slowly move in towards your nose. Some recommend to start from the middle, but identifying the "middle" similarly for both eyes may not be as easy as starting from one end.
Things you will need
- A pair of lashes
- Lash glue
- A pair of tweezers
- Desk Mirror
- Lash glue remover (In case you need to clean up and try again)
- Lash Curler
- Mascara, eyeliner and other desired eye makeup
To be safe, always test your lash glue on your arm. We don't want allergies around the eyes! Ready? Here we go!
Steps
- We recommend doing your eye makeup first, so makeup powder will not end up on your lashes. One could always touch up the eyeliner later to properly conceal your falsies.
- Using a pair of tweezers, gently remove lashes. Measure against your eye and cut to length.
- Curl it around your finger so it will better suit the curvature of your eye.
- Apply a layer of glue on the band of the lash, sparingly... Make sure you get the ends! That's where lash lifts (falsies detaching from your skin) happens!
- Wait till the glue is tacky (around 30 seconds, or maybe 15 with few puffs of breath, depending on the glue).
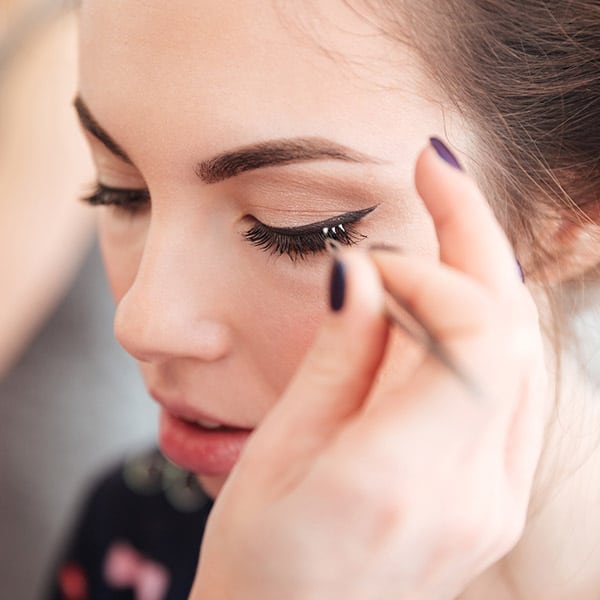
- Have the mirror be perpendicular to your face. It stretches out your eyes, allowing you to see more clearly than if it was vertical. You can start from the outer end and go inwards!
- Finishing touches!! Use the curler on both falsies and your real lashes together.
That's all I have for now! Hope this is useful for lash beginners out there.
Most of us has glued our eyelids before or used so much glue that our eyes looked like a primary school art project. Some days my eyes will water and it takes me three tries to get the glue to stick on the inner end. So please, don't worry or be discouraged!
Oh...in cases where you do not want to deal with glue, there is a simplier alternative! In comes magnetic lash.
If you are still unsure about magnetic lash, we had done a comparison if it here: Magnetic Lash Vs Glue Lash. Who wins?
For the uninitiated, here is everything you need to know about magentic lashes.
